This article is how to specify the font for your target translation language, install one on your system if needed (Windows & MacOS) and print to PDF in translationStudio-Desktop 12.1.1.
This article came about because when using tS-desktop, you often don’t have to specify a specific font for non-Roman characters (e.g. Chinese, Myanmar, etc.) when using tS for translating and viewing your translation (even in the Print Preview screen). This is because the app itself is able to figure out what font to use from your system to render your target language’s characters. Even within a word that has accented characters (i.e. not in a standard Roman character font), it can change those specific characters so they don’t appears as empty squares (tofu characters) or question marks.
However, PDFs, when displaying on your system, canNOT use your system fonts, and all fonts must be included in the generated PDF. tS-desktop is only able to include your selected Target Translation Font as well as a few others such as Noto Sans, Roboto and sans-serif.
To print to PDF in tS-Desktop, you need to specify your Target Translation Font. You can find how to do this in the tS Manual as described on page 53 of the user manual.
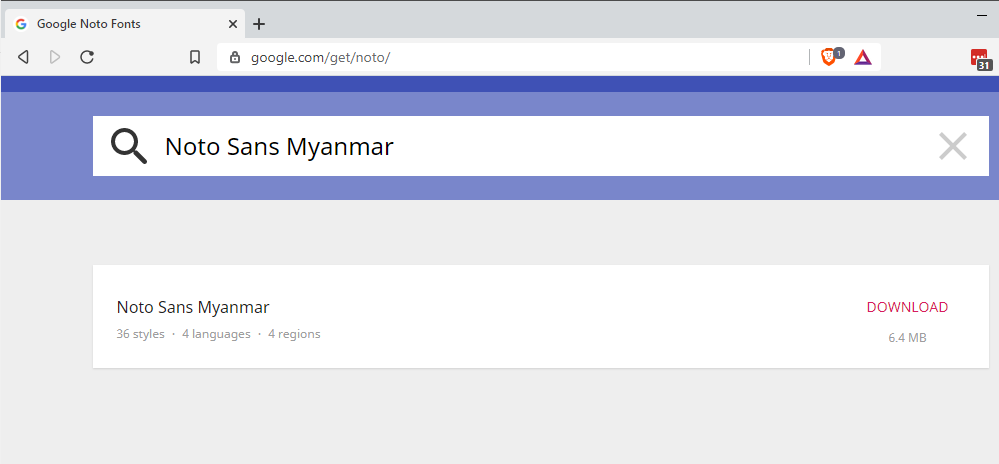
If your desired font is not listed, you will need to download it and install it as a SYSTEM font (i.e. not a user font). For example, for Myanmar, you can download Noto Sans Myanmar from here.
Once downloaded, follow these steps to ensure your fonts are installed as SYSTEM fonts (you will need to be admin):
Windows 10
(Windows 8 should be similar)
-
Download you font package, e.g. Noto Sans Myanmar
-
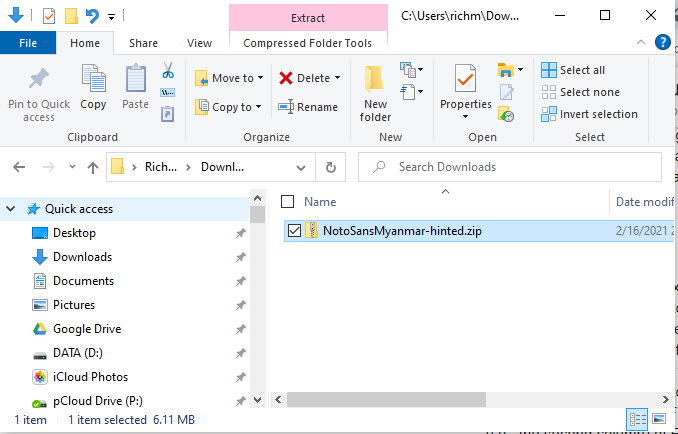
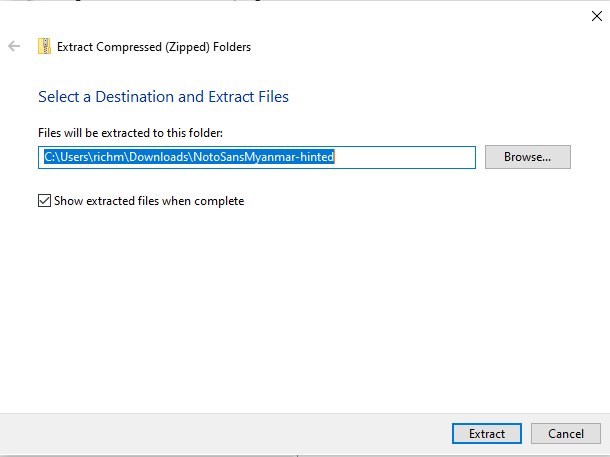
Uncompress the package, extracting the file to a new folder, e.g. C:\Users\richm\Downloads\NotoSansMyanmar-unhinted
-
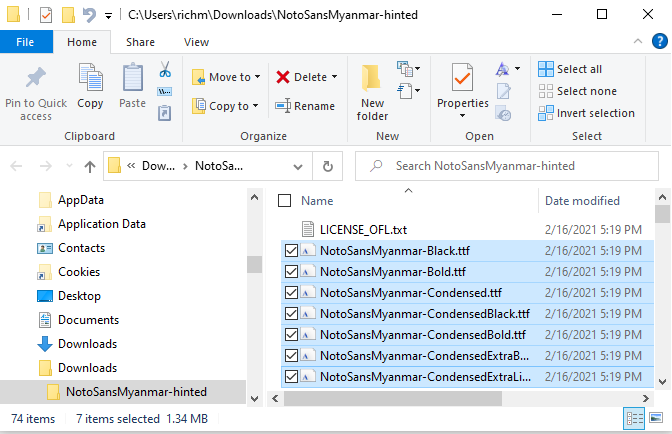
In a Windows Explorer, change to folder you extracted your font files to.
-
Select all the font files you want to install
-
Right click on the files you have selected and click on “Install for all users”

macOS
-
Download you font package, e.g. Noto Sans Myanmar
-
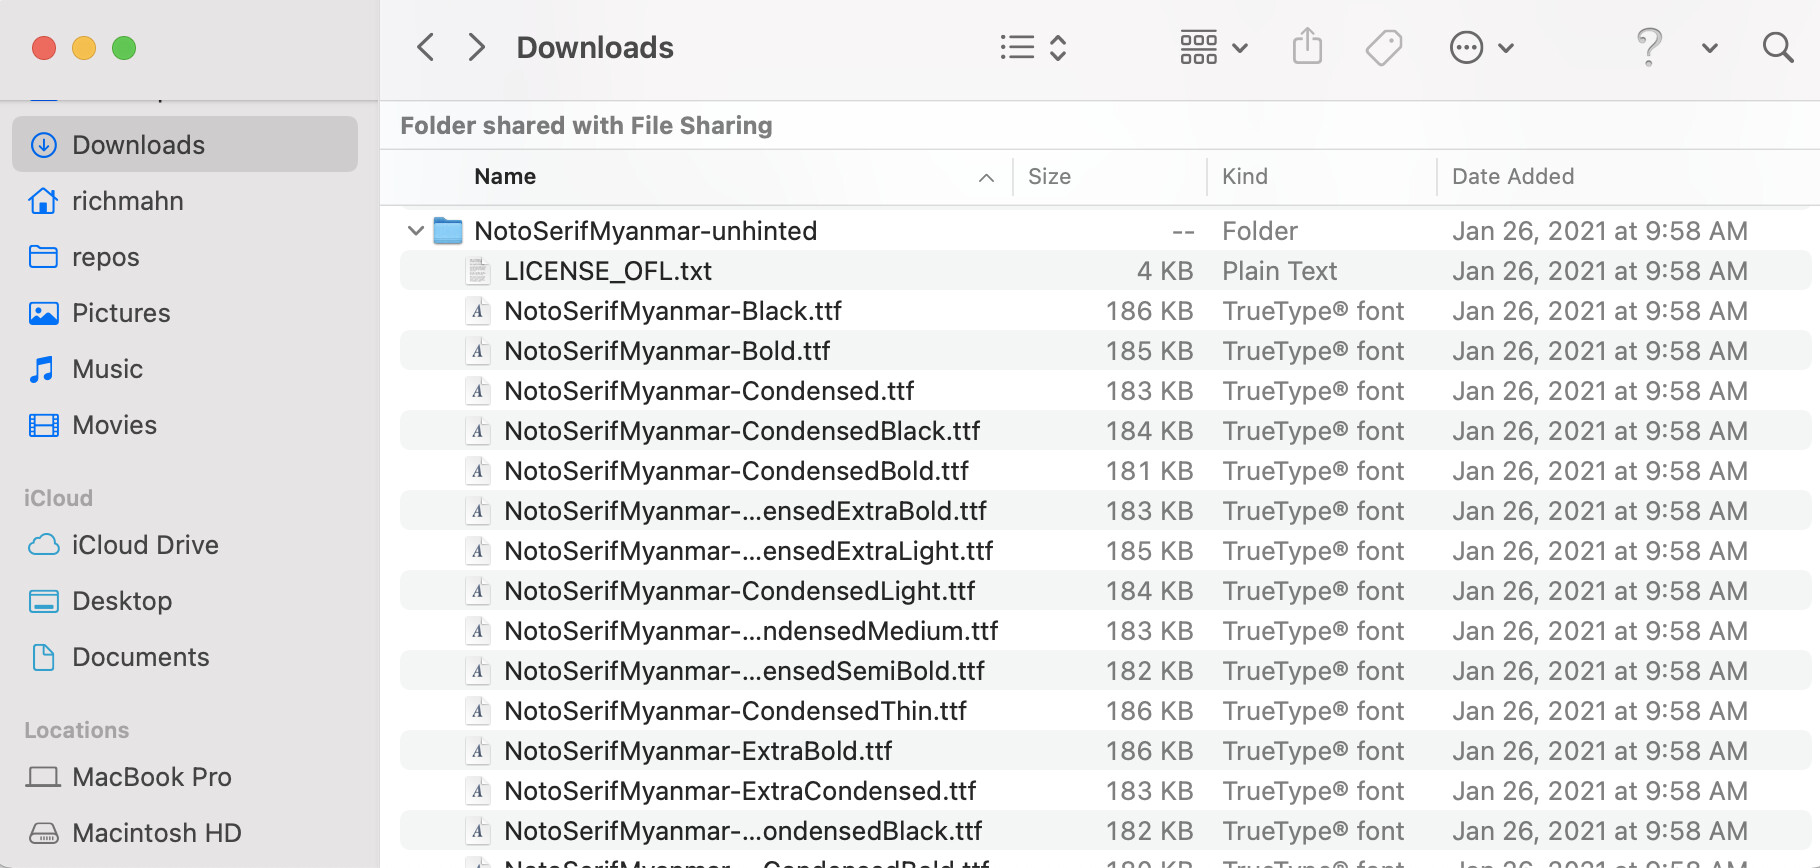
Uncompress the package, extracting the file to a new folder, e.g. /Users/richm/Downloads/NotoSansMyanmar-unhinted
-
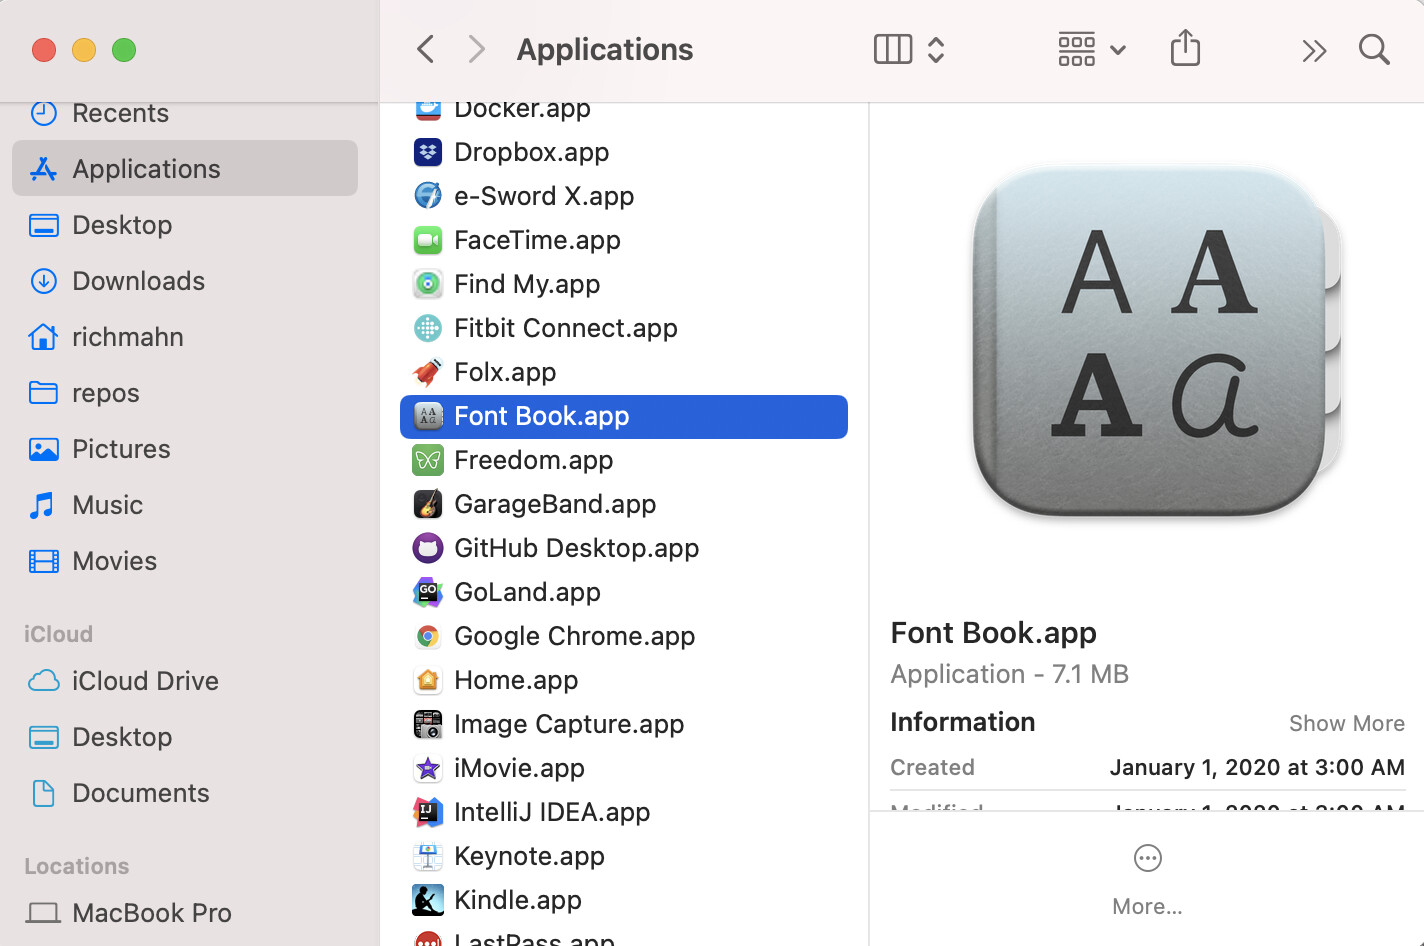
Open Font Book (Go to Finder → Applications → Font Book)
-
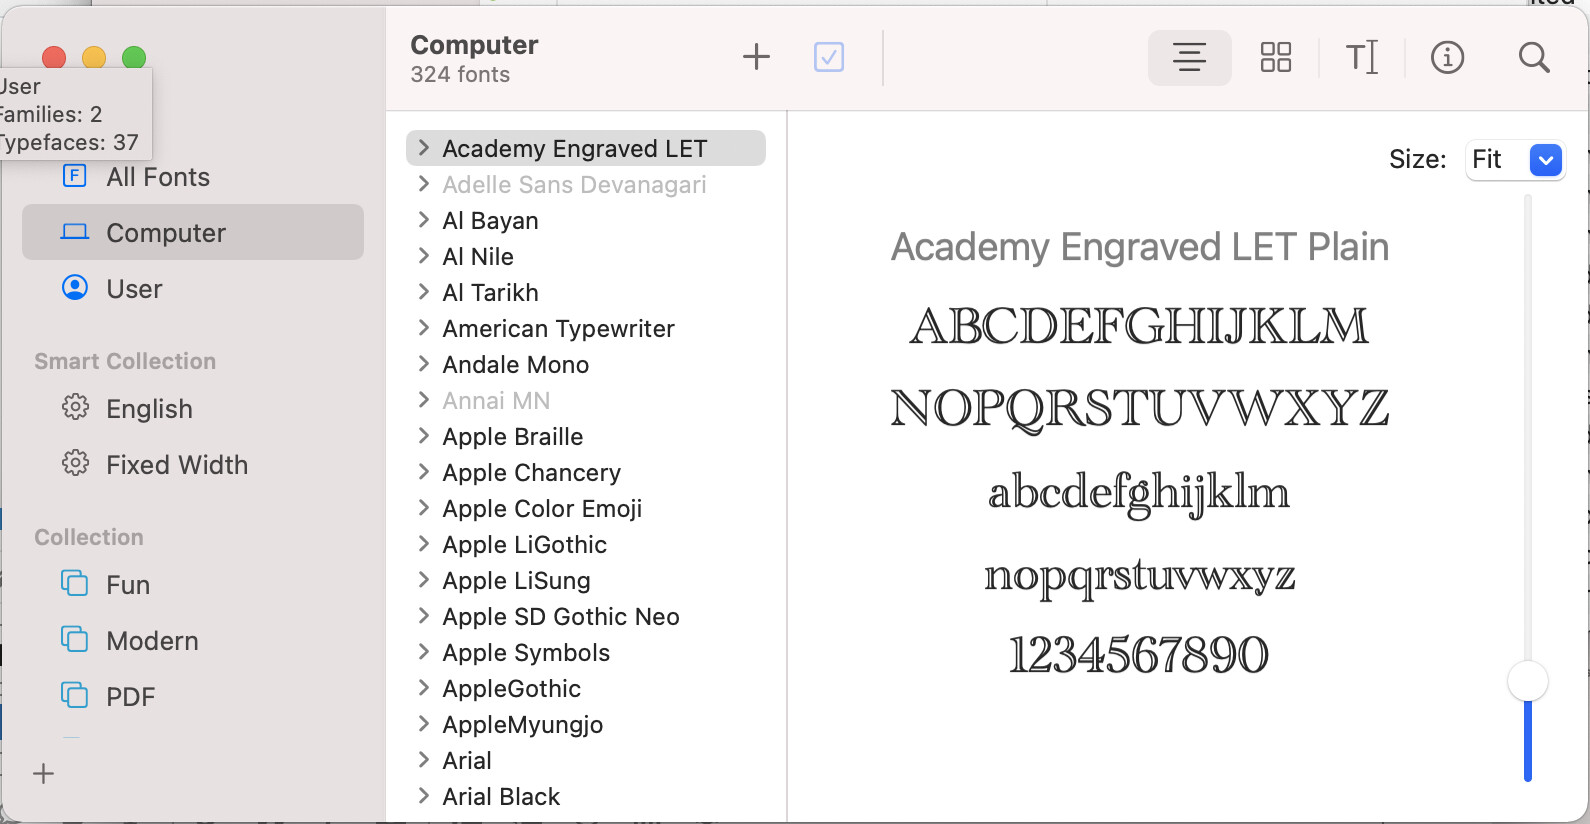
Click on “Computer” in the left panel to install for all users on this computer
-
In your Finder window, go to the folder where you extracted the fonts, e.g. /Users/richm/Downloads/NotoSansMyanmar-unhinted.
-
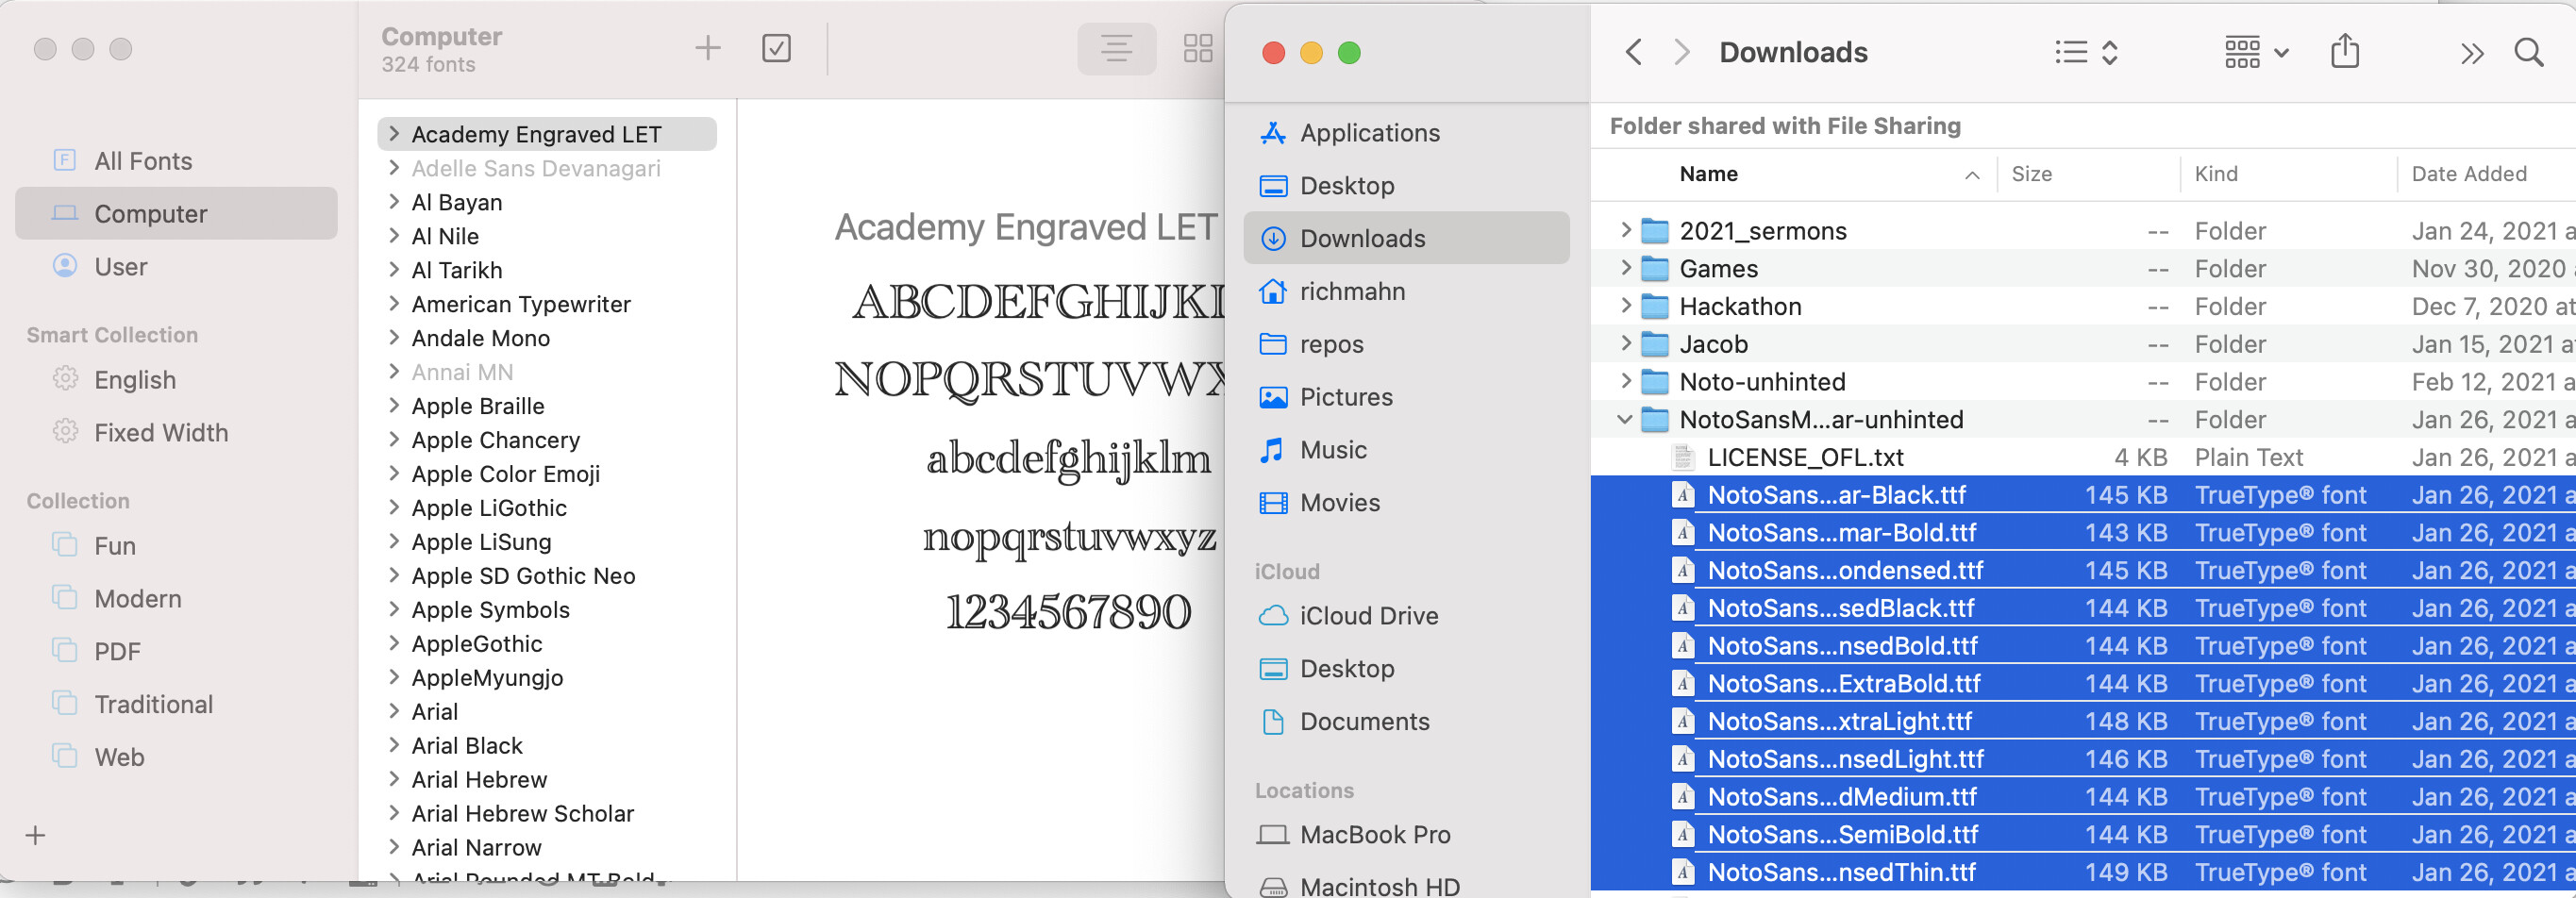
Select all of the font files in Finder and drag them to Font Book, dropping them in the Font column (i.e., the second column) of Font Book
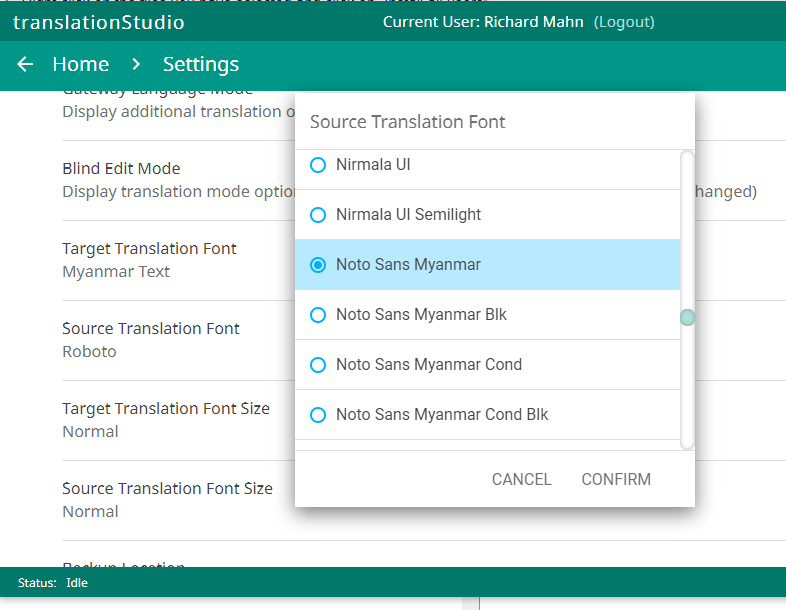
Once the font is installed, go back to tS-Desktop, open settings, click on Target Translation Font, and select your installed font.
Now you can go to your project, go to the context menu, select “Print”, “Create Preview”, and then “Save to PDF” and the PDF should render with your selected font.