Running an Instance of DCS Locally in Docker (Setup, Backup, Restore & Mirroring Repos)
Contents
The Setup
-
Download git and install for your machine if you haven’t already: Redirecting…
-
Download Docker Desktop for your OS & Install: https://www.docker.com/products/docker-desktop
-
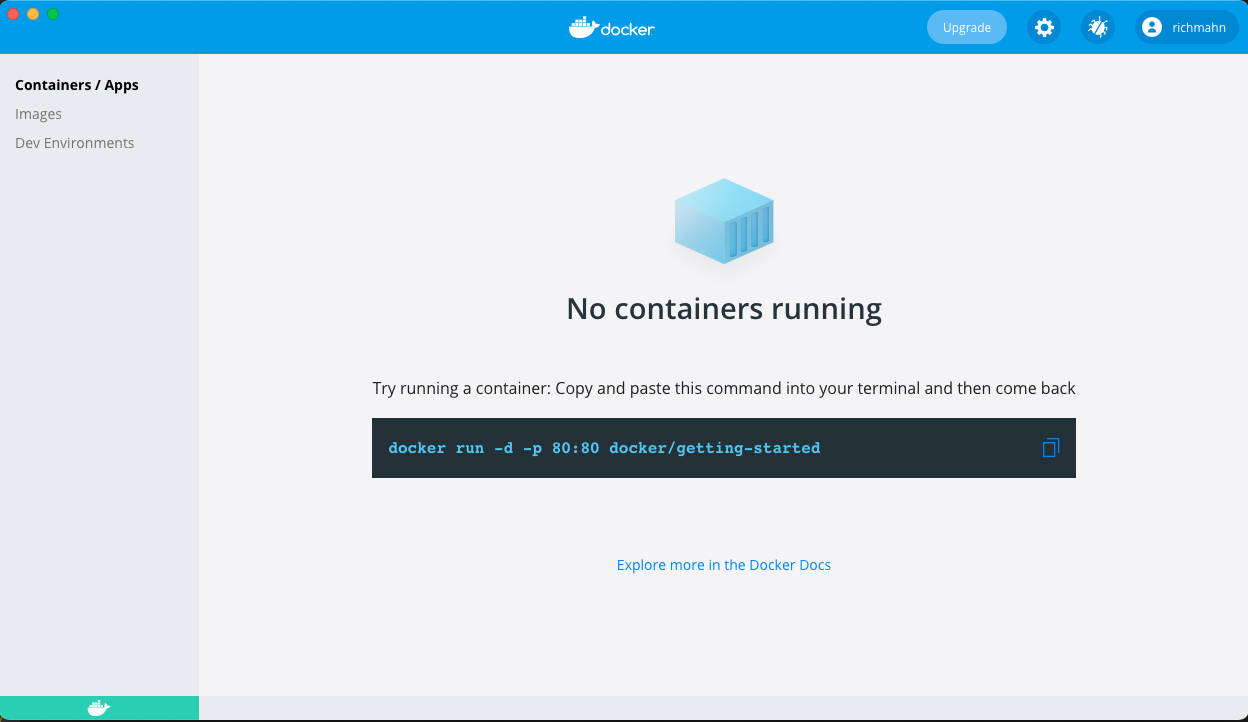
Run Docker Desktop and go into the Dashboard (might be a icon when you start up in your system tray, so click on it and select Dashboard)
-
Open a terminal or command prompt on your computer and change to or create a directory to work with DCS files. You then want to clone the dcs-docker repo we have to make things easy:
git clone git@github.com:unfoldingword-dev/dcs-docker.git
cd dcs-docker
`./setup.sh
-
You will be opening a command prompt/terminal on your machine, and doing what the instructions in the Dashboard tell you to do, but let’s replace run this command instead to get DCS running on port 3000 (use another port for the FIRST instance of 3000 if you already have a process using that port, e.g. 3001:3000 if you want to use port 3001)
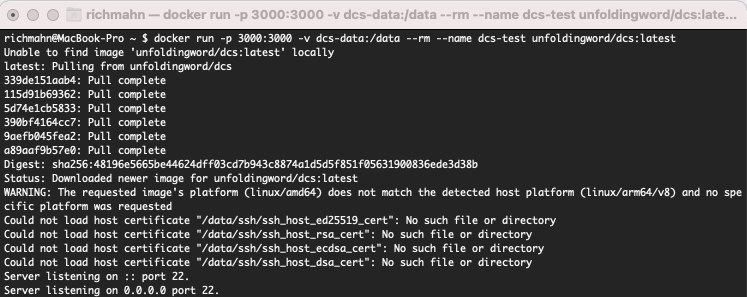
docker run -p 3000:3000 -v dcs-data:/data --rm --name dcs-test unfoldingword/dcs:latestBreakdown of command:
run- will run a docker image-p 3000:3000- maps our physical machine’s port 3000 to the docker container’s port 3000. If 3000 is used on your system, change the first 3000 to what you want to use, but keep the second 3000 as-is, e.g.-p 3001:3000.-v dcs-data:/data– this is the key to being able to save the data as a certain state and restore it from a certain state. This is saying to map a volume container called “dcs-data” to the /data directory of this container we are running--rm- when this container stops running it will remove itself so we can start a container with the same name again.--name dcs-test- gives this container the name “dcs-test”unfoldingword/dcs:latestthis is the image we want to use which it fetches from hub.door43.org. “latest” points to the latest version we run on production. You can also uselatest-qaandmasterto get what is running on the qa.door43.org and develop.door43.org servers respectively (please note: you can never go backwards, that is, from lastest-qa to latest or master to latest-qa or master unless you use a new volume!)
You should see the following when you start it up, with Docker fetching the images needed:
And if successful, you should see this output from the DCS web service which then waits for a web browser request:
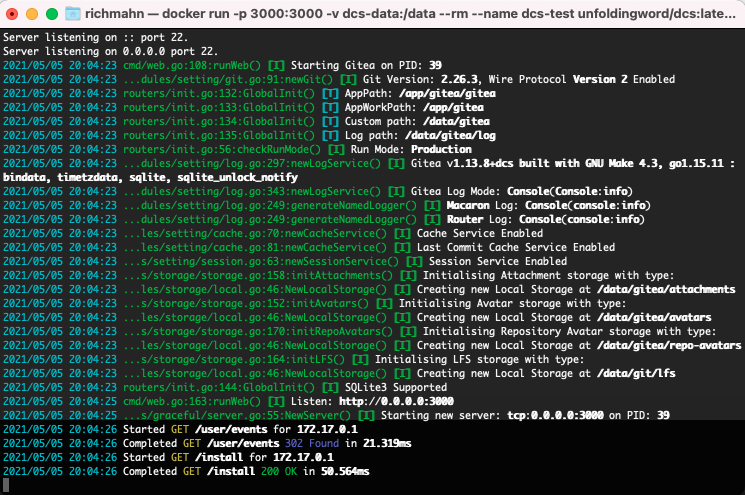
- Now on your computer’s browser, just go to http://localhost:3000 (http://127.0.0.1:3000 if the first doesn’t work, and if you changed the port above, such as to 3001, use it instead here), and you should see an out-of-the-box copy of DCS. Click on the “Sign in” button and you’ll be taken to the install page.
Change the following:
Set
You can just keep everything as-is and click the install button at the bottom. You should be asked to sign in.
5. You need to create a user, so create one with the “Register” button, making the username root or admin. The first user created is the admin user and at this point, no user exists.
6. Now that you created your first user, make some orgs, repos, tokens, users (the latter through the Site Administration option from the drop-down menu at the top right with your avatar), or whatever you want for how you want it to be when you start DCS.
7. Now with DCS like you want it to always be when you start it up for testing, we need to stop the container from running and do some terminal work! Here are the steps:
- In another terminal, stop your docker container:
docker stop dcs-test
In your first terminal window where you started DCS, you should see it end the process and return you to the host computer’s prompt. - Now we need to grab the contents of the data volume we specified above,
dcs-datainto a zip file:
$ mkdir ~/dcs-data-volumes

$ docker run --rm --volumes-from dcs-test -v ~/dcs-data-volumes:/backup ubuntu bash -c "cd /data && tar czvf /backup/dcs-data.tar.gz ."
Let’s dissect the second command. docker run creates a new container, that much is obvious. After that:
--rmflag tells Docker to remove the container once it stops.--volumes-from dcs-test: Mounts all the volumes from containerdcs-testalso to this temporary container. The mount points are the same as the original container.-v ~/dcs-data-volumes:/backup: Bind mount of the~/dcs-data-volumes/directory from your host to the/backupdirectory inside the temporary container.ubuntu: Specifies that the container should run an Ubuntu image.bash -c “...” :Backs up the contents of your website as a tarball inside/backup/inside the container. This is the same~/dcs-volumes-data/directory on your host system where a newdcs-data.tarfile will appear.
-
Now in our ~/dcs-data-volumes directory we have our
dcs-data.tar.gzfile which saves the state of our data in our local instance of DCS. -
Now simulate making changes to your instance of DCS by running the command in #3 again and go to localhost:3000 in your browser again. Let’s say you made a repo with a README.md file. Make a change to the README.md file and note the change.
-
Stop the running DCS container again by running
dcs stop dcs-test. -
Now delete the dcs-data volume that has the README.md change in it.
$ docker volume rm dcs-data`
- Now we create a new
dcs-datavolume and unzip the tarball we made in step #7
$ docker run --rm -v dcs-data:/data -v ~/dcs-data-volumes:/backup ubuntu bash -c "cd /data && tar xzvf /backup/dcs-data.tar.gz"
- Now you can run the same command from step #3 and everything should be back to when we saved the volume data!
docker run -p 3000:3000 -v dcs-data:/data --rm --name dcs-test unfoldingword/dcs:latest